How to make a wavy checkerboard pattern in Procreate
Checkerboard patterns are simple to create in Procreate, but today I want to share how I add a bit of fun to them. First, we will make the original checkerboard pattern, and then we’ll add some flowy waves to make the pattern even more stunning and interesting.
You’ll learn everything in my class called Halloween Checkers, or scroll down for a step-by-step mini-tutorial👇
What You'll Learn in the class:
Make a simple checkerboard pattern in Procreate.
Using textured brushes to add some depth.
Create waves and add a flowy feel to the pattern.
Make sure that your edges are matching and that the pattern is seamless.
Free Downloads:
Included in the class are 4 Procreate brushes and 1 color palette. All free for both personal & commercial use.
There’s also a Notebook Procreate mockup, available as a download in this months Goodie Bag for our members.
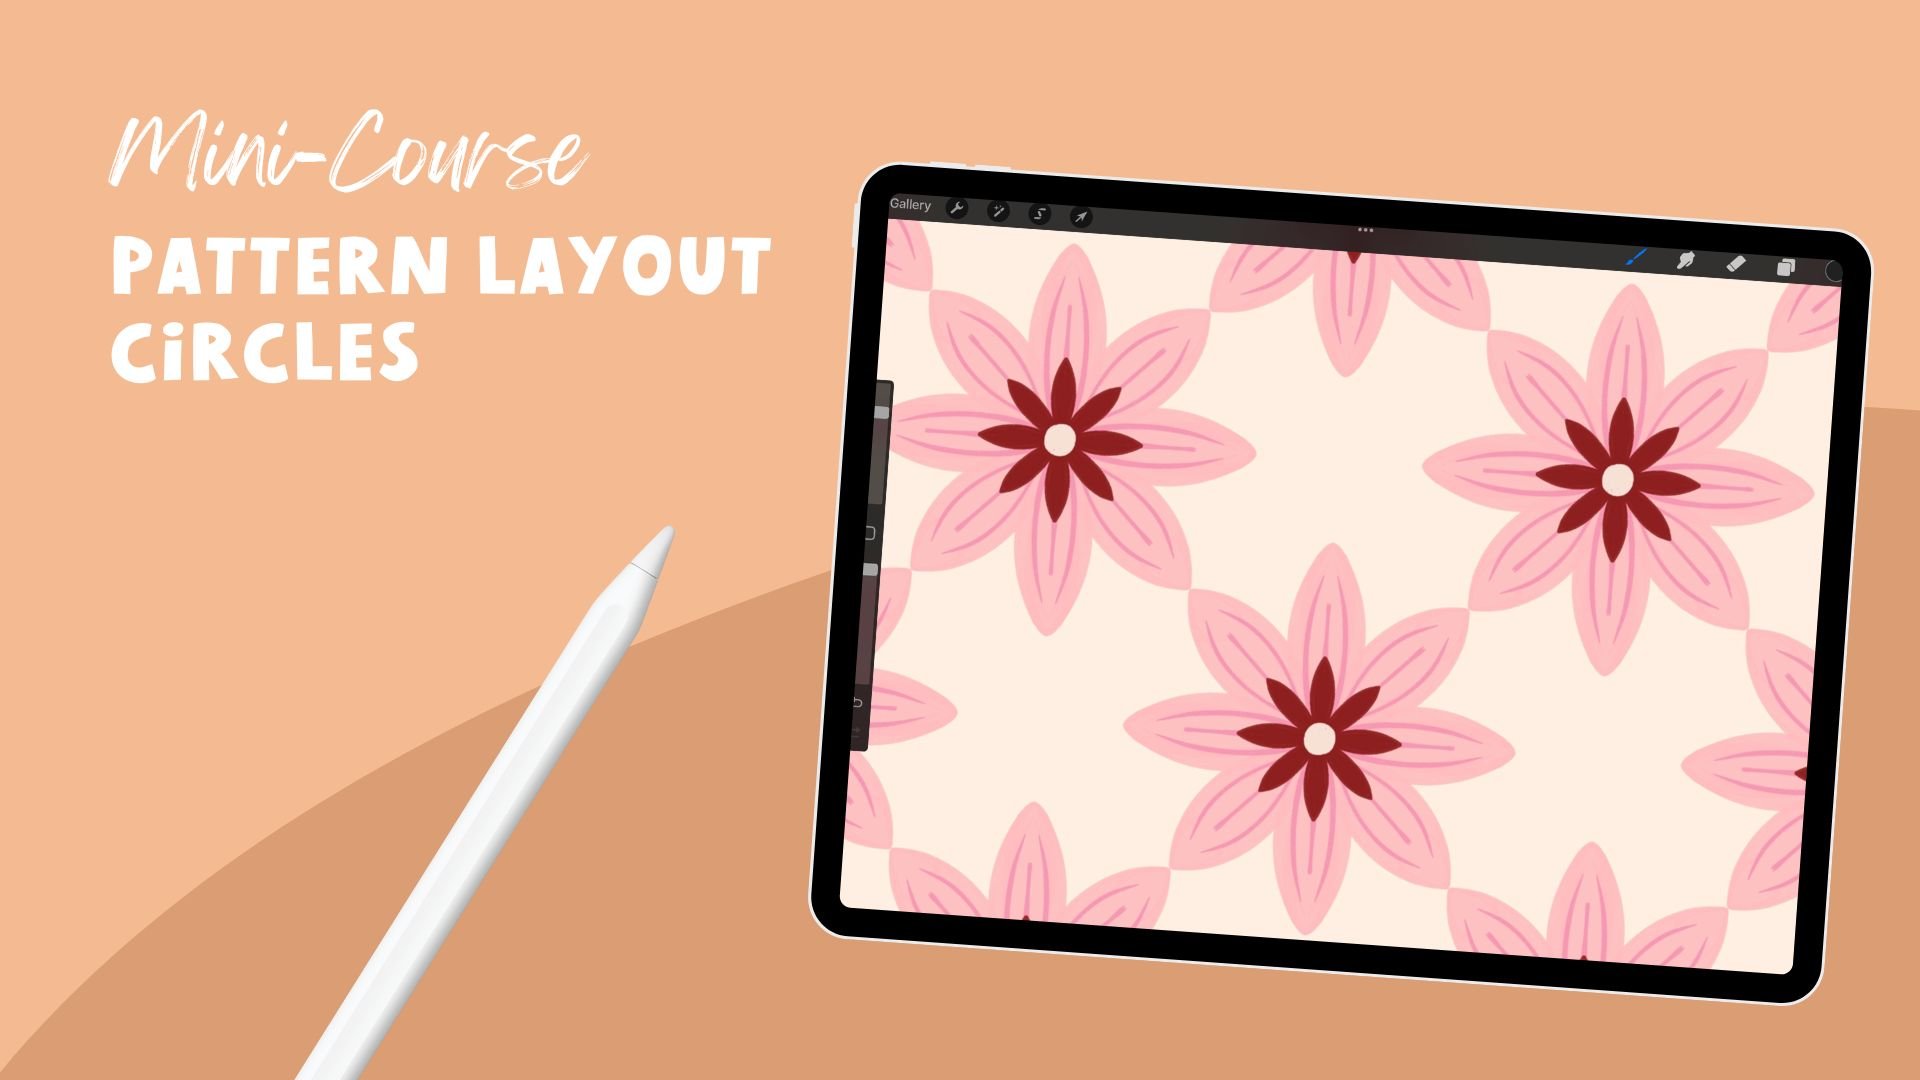
And a Circles pattern layout template including a mini-course on how to use the template, also for our members. Read more about the pattern layout template here.
Free Mini Tutorial:
Halloween Checkers Pattern
Here’s a sneak peek of what you'll learn in the class:
Step-by-Step Mini Tutorial:
Step 1: Create the checkerboard pattern
Open Procreate and set your canvas size (I usually use 3000px in width and height, and start with the Pattern Perfect Template, which is free for Pattern Rebel members and is a game-changer when it comes to creating patterns in Procreate.)
Fill 4 layers with colors and minimize the squares so that you have 4 equally sized squares with different colors on your canvas.
Merge the layers & copy so that you’re making more squares on your canvas.
Step 2: Make it Wavy
Use the Liquify tool to make the pattern wavy.
Step 3: Add texture
Use the Thick Scratch brush and the Scratch Down Thick brush to add texture to your pattern.
Add a blend more to the texture layer.
Step 4: Create the pattern
Use the pre-made Pattern Perfect Template to make the pattern, or arrange your pattern so that the edges are flipped to the center.
Make sure your wavy squares meet up at the edges to make the pattern seamless.
Step 6: Test the Pattern:
Copy you canvas + paste it so that you’ll get a flattened image of your pattern tile.
Test your pattern tile in my free Pattern Tester here on my website.
P.S. This mini tutorial gives you a taste of the full class, where we'll dive deeper into each step and explore more advanced techniques.
“Pattern Rebels is the perfect place to learn more about pattern design, it suits perfectly beginners like me as well as advanced artists. The platform gathers all I can ask for, courses (w/ goodies), feedback sessions with Maja, interaction with other artists/creatives who love pattern design, all in the same place!”
Why Join Pattern Rebels?
Want to take your pattern design skills to the next level? With Pattern Rebels, you will:
Get monthly pattern design classes in Procreate: Master creating patterns with ease, including using pattern layouts and learning unique techniques from scratch.
Access Procreate resources: Get new exclusive brushes, color palettes, and mockups every month to elevate your designs.
Receive feedback and support: Join our monthly Feedback + Q&A sessions to get constructive advice on your work and ask me anything you want!
Grow your style: Participate in monthly challenges to practice on working with briefs and to grow your unique pattern design style.
Join a creative community: Connect with like-minded artists, share experiences, and grow together.
Ready to Create?
Join Pattern Rebels today and get access to everything that’s ever been published in the membership. With plans starting at just €22 per month, it's never been easier to master pattern design and join a community of like-minded creatives.
My membership is designed to help artists like you grow and improve your skills, and I’m always adding new courses and resources to keep you inspired and on top of your game.
TO LEARN MORE FROM ME CHECK THIS OUT:
My pattern design membership Pattern Rebels
My Skillshare profile with all of my classes available to watch
Shorter tutorials on my YouTube channel
Daily inspiration at Instagram
Shop digital design assets in my webshop
P.S. If you don’t have a Skillshare membership yet, but want to watch my class, you’ll get 1 month of free premium membership if you click on this link >>>


